


 Products photographed above: Mac lipglass - Naked pigment in Sierra Nevada #2 - Maybelline Gel Liner - Maybelline The Falsies Mascara - Purple Haze eyeshadow - Fig 1 eyeshadow - Coastal Scents 88 Ultra Shimmer Palette
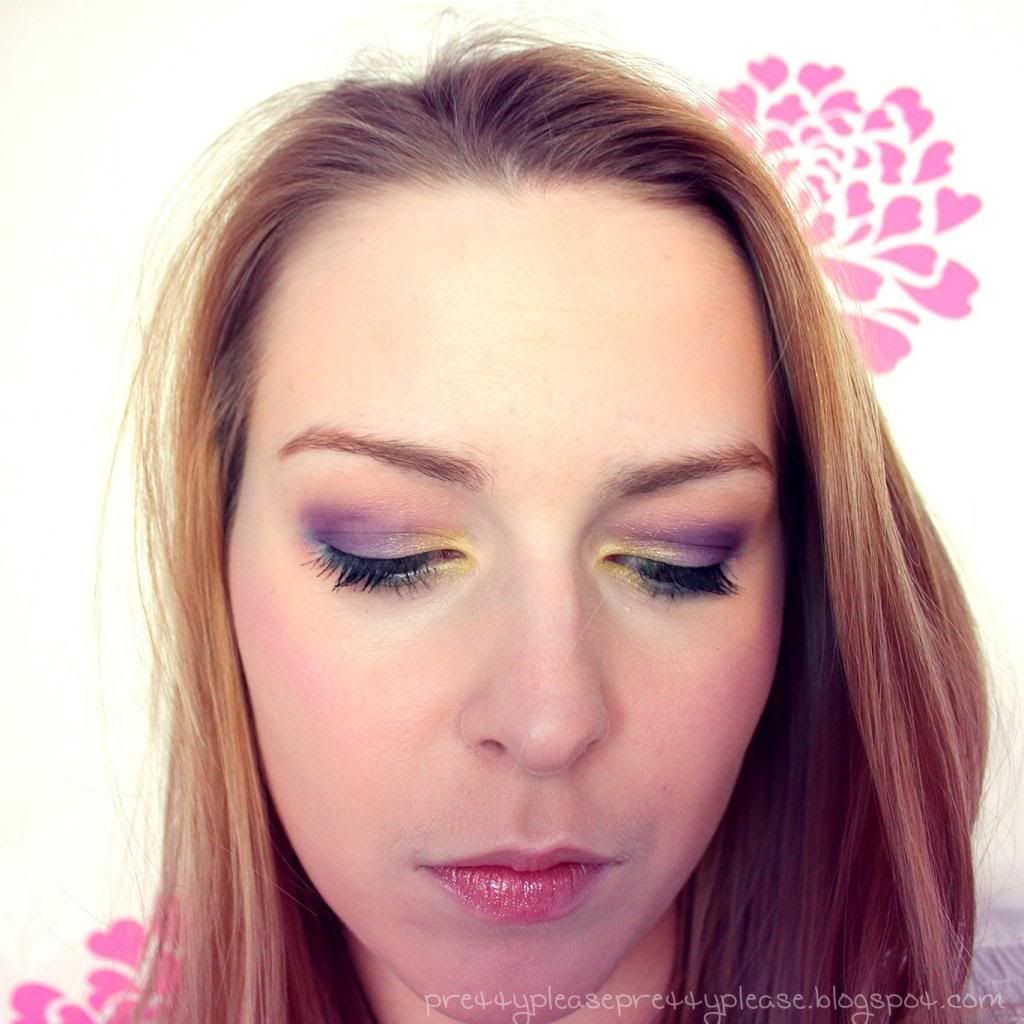
I was in a super springy mood yesterday. The sun was shining, there was a slight breeze and the daffodils were swaying. I got all inspired and decided to do a little impromptu colourful makeup look. I was really pleased with the result and it didn’t take long at all, I should really set more time aside to do things like this because it makes me happy :)
I started off with the eyes as when working with bright colours you’re likely to get a lot of fall out which could ruin your foundation. I used a pencil brush to take a bright yellow from my Coastal Scents palette a third of the way across the inner eyelid and the same distance under the tear duct area. Next I used a lilac (Purple Haze by Mac) on a flat shader brush across the rest of the lid and up to the socket. I used a darker matte purple (Fig 1) on a Mac 217 across the outer socket and blended it into the lid colour. I decided to use a bright blue on the centre of the lower lash line and a deeper blue on the outer third of the lower lash line to blend the blue into the purple. I made a thin line across my top lash line with my Maybelline gel liner in black and added a little to my outer lower lash line before curling my lashes and using lots of my Maybelline “The Falsies” mascara. If you go for bright shadow it’s important to contrast it with dark liner and thick lashes.
The Face
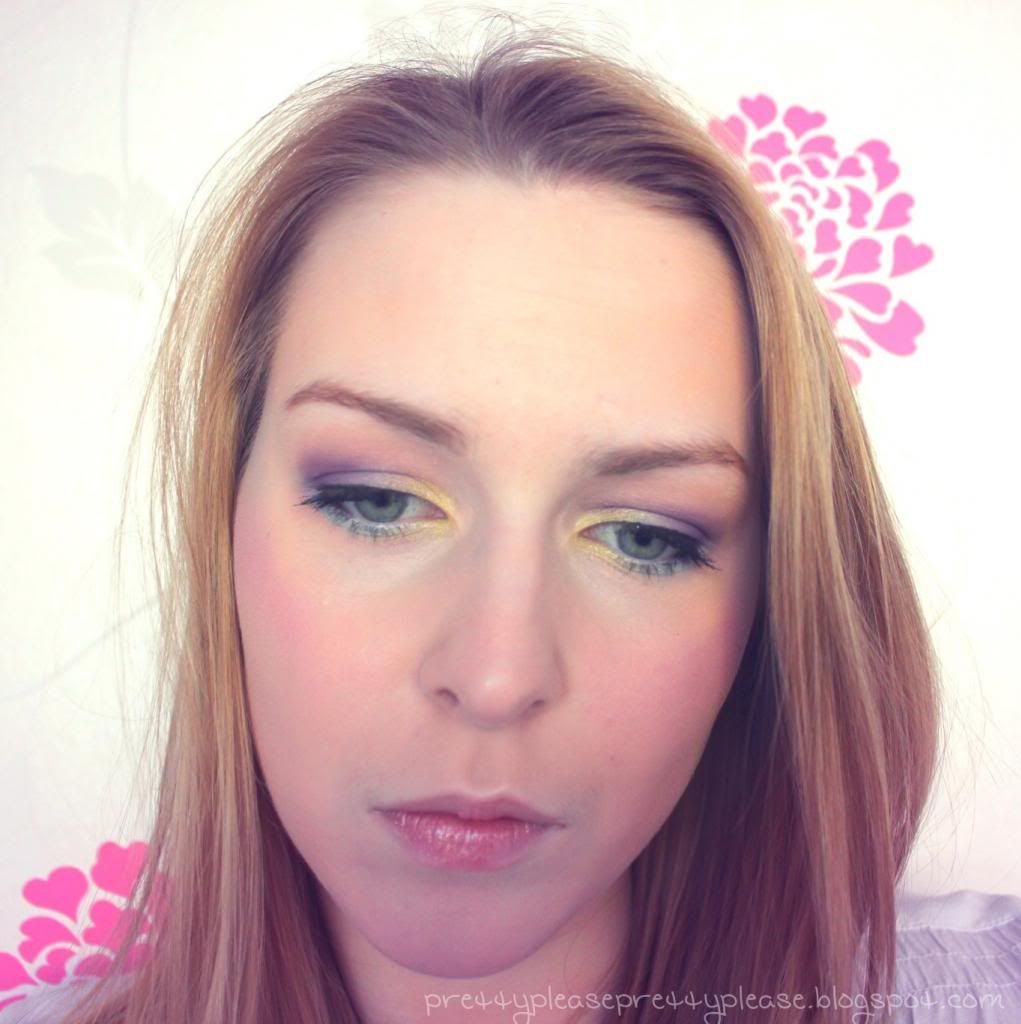
Next I added my favourite foundation and concealer (careful not to smudge any eyeshadow!) and powdered over it to make it easier to add the powder blush. I actually used more eyeshadows from my Coastal Scents Palette to get the colours I wanted for my blush, which also added a beautiful sheen to my skin. I applied the blush on the tops of my cheek bones in an elongated C shape going toward my temple. I started with pink on the apple of the cheek (don’t smile when you apply this or the colour will drop when you relax your muscles), then a light purple in the middle and a bright, light blue nearer the temples. Blend out the edges with your powder brush until you reach the intensity you want.
The Lips
The lips were really fun to do. Put a bit of any clear lipgloss on the back of your hand (I used Mac’s Lipglass) and add a pinch of gold pigment - Barry M is a cheap option but I used my one of my Naked pigments. Now mix together with a lip brush and apply - I didn’t think that this would suit my skin but it looked amazing!
I think my favourite bit of the look is the wonderful sheen the sunlight picks up on my cheek, and how the yellow really opens up the eye :) Unfortunately this is a little loud for an every day look for me, but I can always share this sort of thing with you guys!
So what do you guys think?

Popular Posts
-
 All swatches taken in natural daylight It's been a while since I did a lipstick post and you guys seemed to be quite enjoying the...
 -
Swatches in natural daylight, left to right: Hue, Patisserie, Shy Girl Let’s talk lipstick. Lucky little old me per chance happene...
-
 Kryolan TV Paint Sticks have been hugely famous in lots of parts of the world especially Asia. Kryolan makes Professional and theatrical Mak...
 -
 Yet another pretty palette from Sleek...the Good Girl palette was launched along with the Bad Girl palette as a limited edition. As the Bad ...
 -
 ( All the information, pictures of products and swatches are original and a copyright property of Makeup Obsessed Beauty) Due to so many req...
 -
 When you have so many brushes it does become difficult to store them. The first idea that comes into mind is a cup or a pencil holder to...
 -
All swatches (on arm and lips) taken in natural daylight I purchased Dubonnet by Mac a few months ago for a photoshoot that I did t...
-
 Today is a bit of a spontaneous post (my favourite kind!). I was having a trawl through some blog pictures on my computer, and si...
 -
Right after product is rubbed in It’s no secret that I’m pretty pale, and so quite often in the summer I like to give my skin a little b...
-
When I was reading world famous makeup artist Rae Morris’ book recently, I noticed that she quite often uses pigments in her looks a...


