


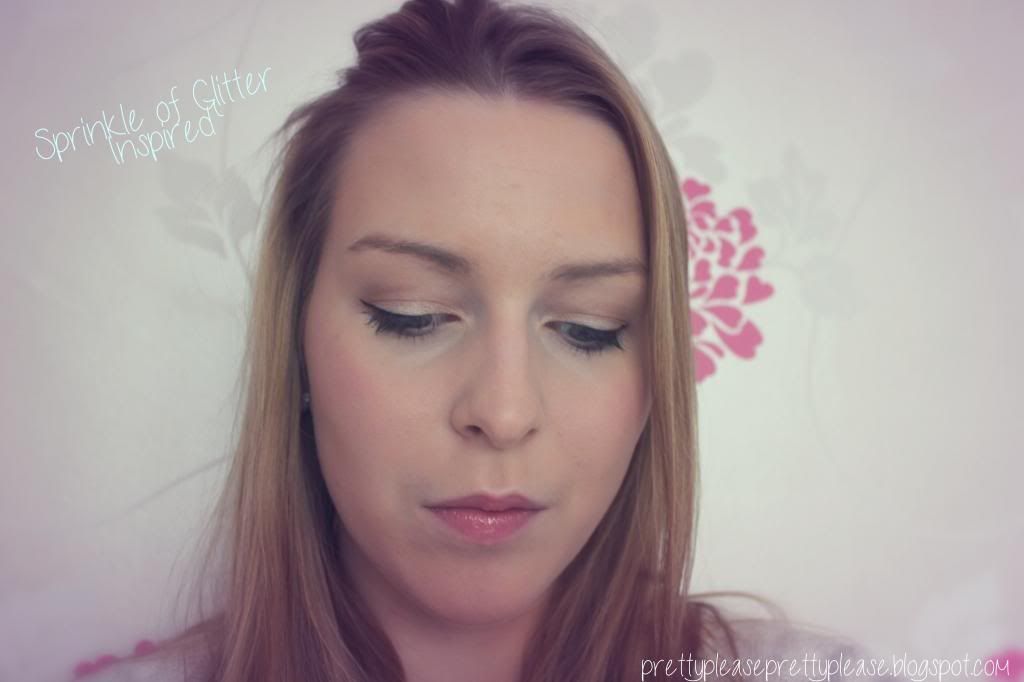
Hey there bloggy people! It's another face-typed post from me today. The other day I was watching a few of Louise from a Sprinkle of Glitter's videos (if you are not familiar with this lady then you should be!) and I really wanted to try to recreate her makeup look. I've worn this look twice this week and I'm a big fan of it. I am not saying that these are the products that Louise uses, but these are the products that I had and used to create a look I have seen her wearing. Enjoy!
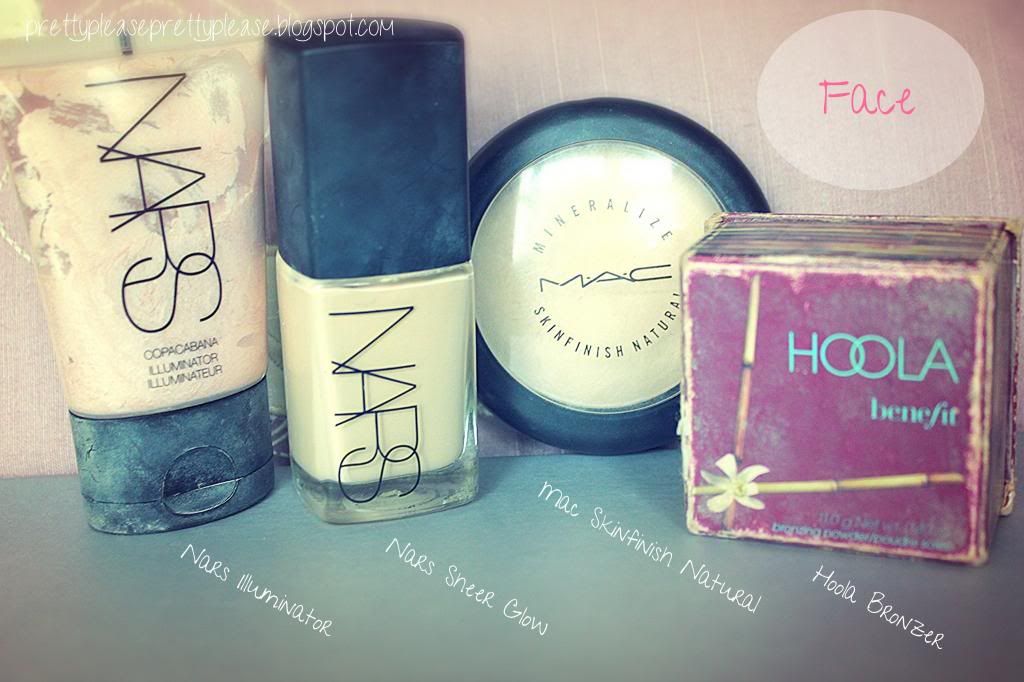
Face
The Nars Sheer Glow Foundation is hands down my favourite foundation. Ever. I'll review it separately some time, but it was my weapon of choice for my face, and as per usual I also used my Collection 2000 Lasting Perfection Concealer on my blemishes and under eyes. After this I dabbed a tiny bit of my Nars Illuminator onto the very tops of my cheek bones with my fingers. Next I lightly powdered the whole of my face with my Mac Mineralise Skinfinish before contouring under my cheek bones with my Benefit Hula Bronzer. Contouring is a common feature of Louise's makeup, and it can be quite tricky to do it properly - I might do a post teaching you how to do it soon! Unfortunately I forgot to include a photograph of it, but the blush that I used was Dollymix by Mac. It's a lovely bright pink that gives a noticeable but in no way gawish flush to the cheeks - perfect for the look that I was going for.
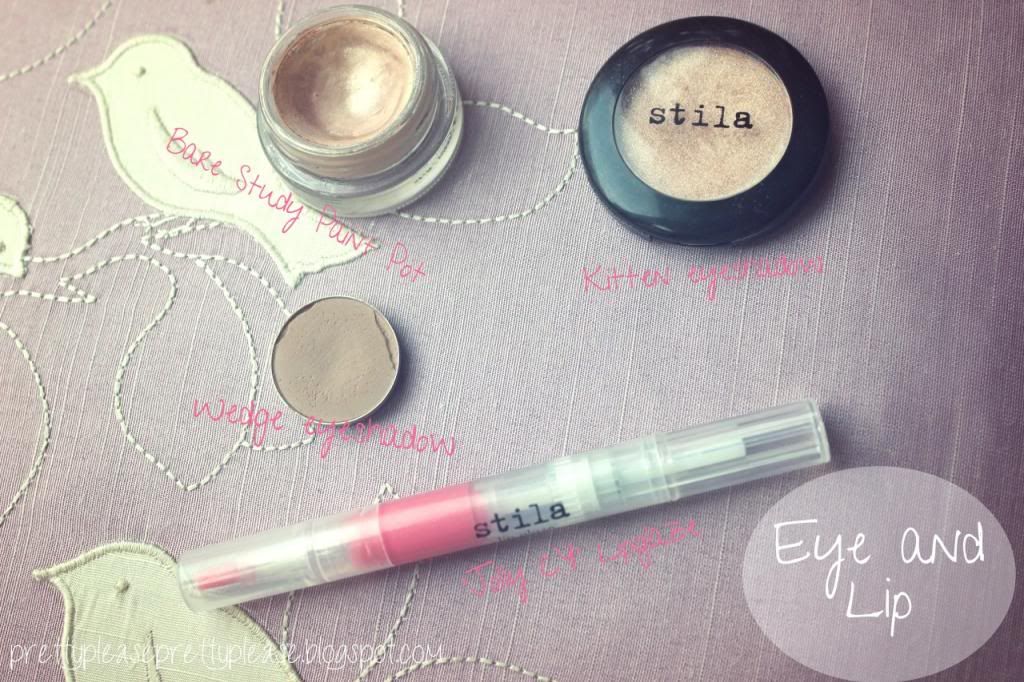
Eyes and Lips
First of all I used a base of my Mac Paint Pot in Bare Study which is a cream shadow in a frosty, light gold colour. It helps any shadow you put on top to pop a little more and adds some sparkle (which I think is rather relevant when talking about a Sprinkle of Glitter!). You can simply apply this with your finger and go straight on with the light gold colour, I used Kitten by Stila. Sometimes I leave it at that, but for a bit of contour I added Mac's Wedge into the crease for some definition. This is also the colour that I tend to use on my brows, which I plan to explain properly in another post. Louise likes a bit of liner and she tend to wing hers out a little, which is exactly what I did. I used Maybelline Gel Liner for this, but you can use liquid (as I think Louise does). I start at the centre of the eye when lining my eye and build the thickness from there and out to the flick - which, by the way, should continue upward in the direction of your lower lash line. I then go back and do a thin line from the inner corner to the centre. Liner can also be tricky, but practice makes perfect! Then curl your lashes and coat it with your favourite mascara top and bottom. Finally, I went for a rosy pink lip gloss. Louise likes to go for this sort of colour which I love. You could also use a lip stick, but I used one of my much loved Stila Lipglazes.
Well friends, I hope that you enjoyed this post and will maybe try it out yourself. I really love the look and think it's really versatile from daytime to nighttime. I've also moved this feature to a Friday now as it makes a little more sense (F-F-Friday, F-F-Face diary, geddit?).

Follow me on Bloglovin • Follow me on Twitter
Popular Posts
-
 All swatches taken in natural daylight It's been a while since I did a lipstick post and you guys seemed to be quite enjoying the...
 -
Swatches in natural daylight, left to right: Hue, Patisserie, Shy Girl Let’s talk lipstick. Lucky little old me per chance happene...
-
 Kryolan TV Paint Sticks have been hugely famous in lots of parts of the world especially Asia. Kryolan makes Professional and theatrical Mak...
 -
 Yet another pretty palette from Sleek...the Good Girl palette was launched along with the Bad Girl palette as a limited edition. As the Bad ...
 -
 ( All the information, pictures of products and swatches are original and a copyright property of Makeup Obsessed Beauty) Due to so many req...
 -
 When you have so many brushes it does become difficult to store them. The first idea that comes into mind is a cup or a pencil holder to...
 -
All swatches (on arm and lips) taken in natural daylight I purchased Dubonnet by Mac a few months ago for a photoshoot that I did t...
-
 Today is a bit of a spontaneous post (my favourite kind!). I was having a trawl through some blog pictures on my computer, and si...
 -
Right after product is rubbed in It’s no secret that I’m pretty pale, and so quite often in the summer I like to give my skin a little b...
-
When I was reading world famous makeup artist Rae Morris’ book recently, I noticed that she quite often uses pigments in her looks a...


