


In this post today I want to share with you a how to on a really simple makeup look. Why? Because I think that sometimes we can all benefit from going back to basics. I’ve tried to make this “tutorial” style post as universal as possible - from the makeup savvy to the teenager looking to start wearing makeup for the first time. The products that I’ve used (which are some of my favourites) are also quite nicely split between drug store and higher end.
This look should flatter any skintone or face shape and any of the products I use can be swapped with your own. I’ve kept it really simple and minimalistic so that anyone can follow these instructions and recreate the look.
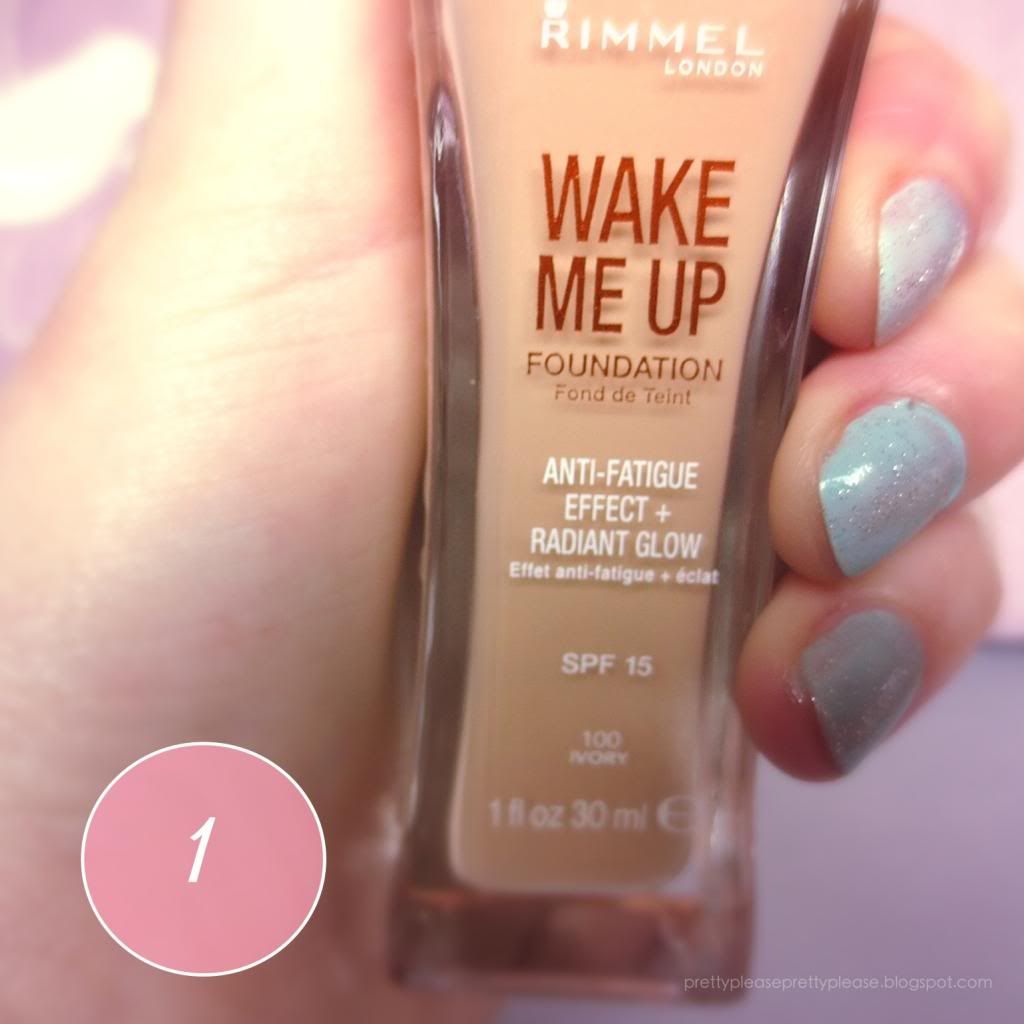
1 - I started off with Rimmel Wake Me Up Foundation all over my face and neck. This is a great drugstore foundation and it’s a new one to my collection. I chose it for the glowy finish it give my skin. I concealed my blemishes and under eyes circles with Collection 2000 Lasting Perfection Concealer (not photographer) which is a great value, liquidy concealer. You could replace either of these products with your own favourites, but be sure not to use any powder products yet!
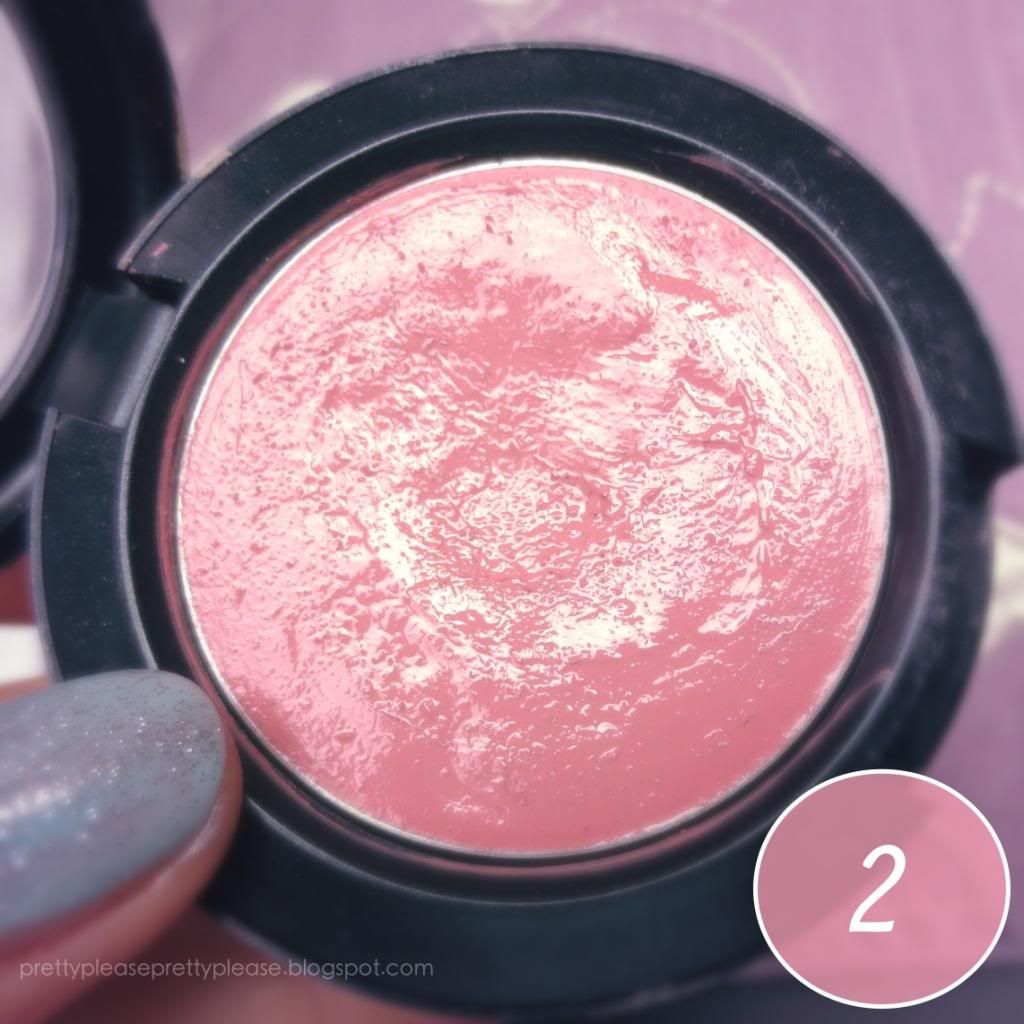
2 - Next I put on Lady Blush which is a creme blush by Mac - you could use a powder blush but it will not give the same dewy finish or blend in as well (unless you have used a powder on your face already). Other than the finish, creme blushes are also great if you have dry skin. I also find that you often don’t need as much product as with a powder blush, although this will vary from brand to brand.
(At this point if you want to fill in your brows or use any eye primers then go ahead. I will do a separate post on this at some point)
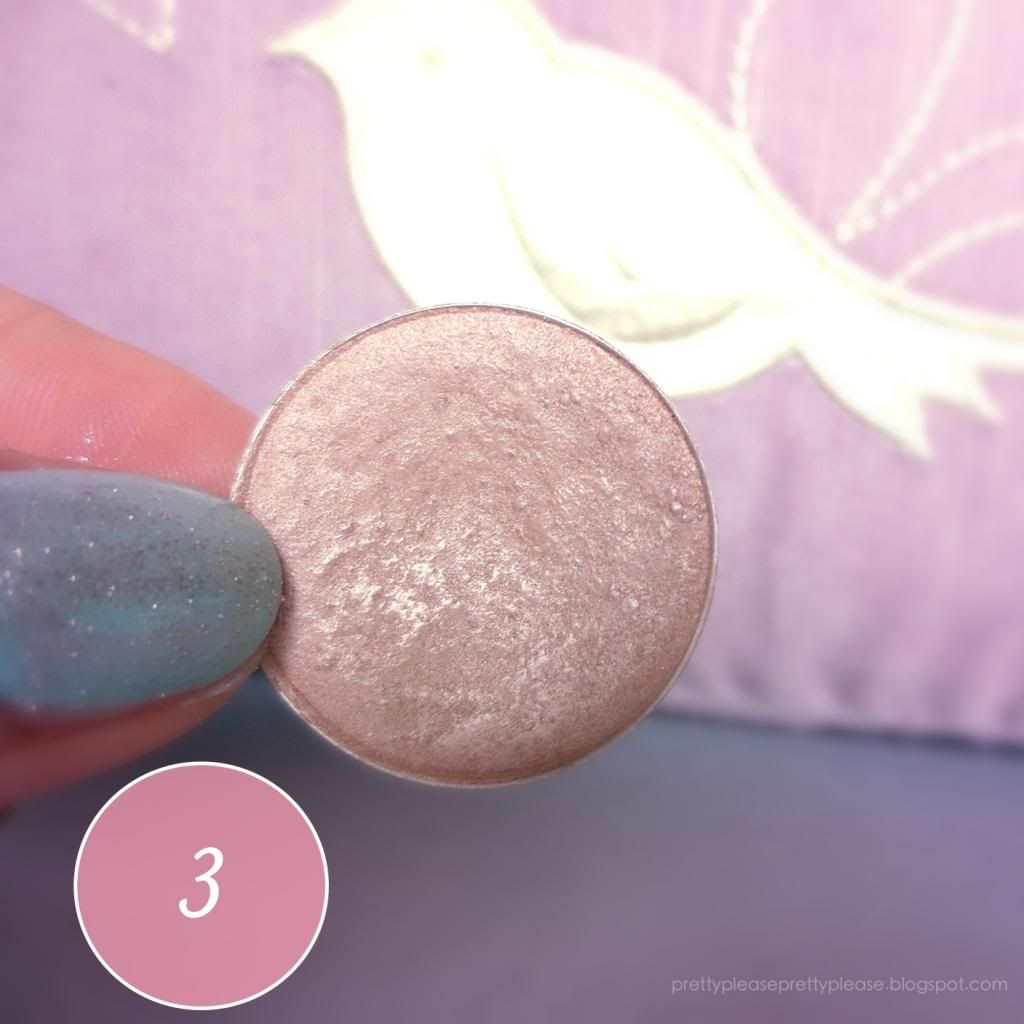
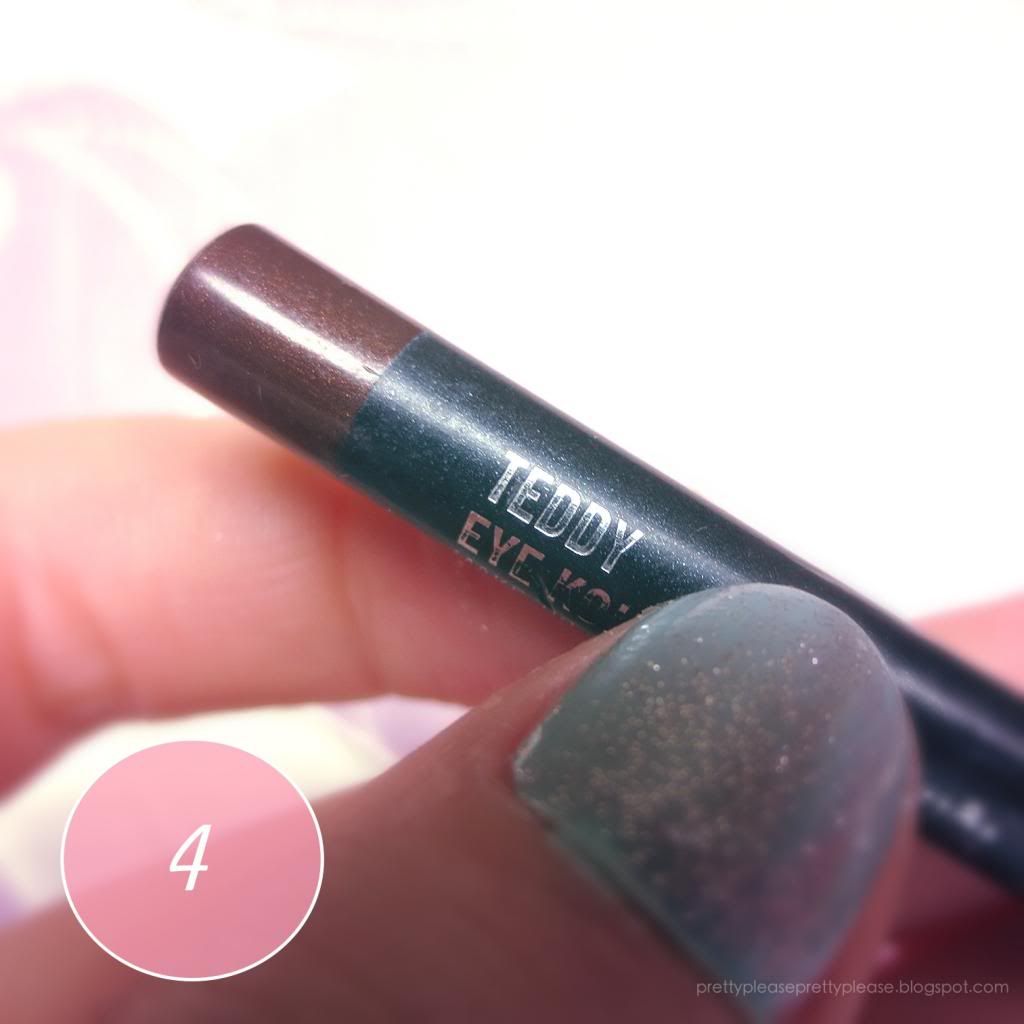
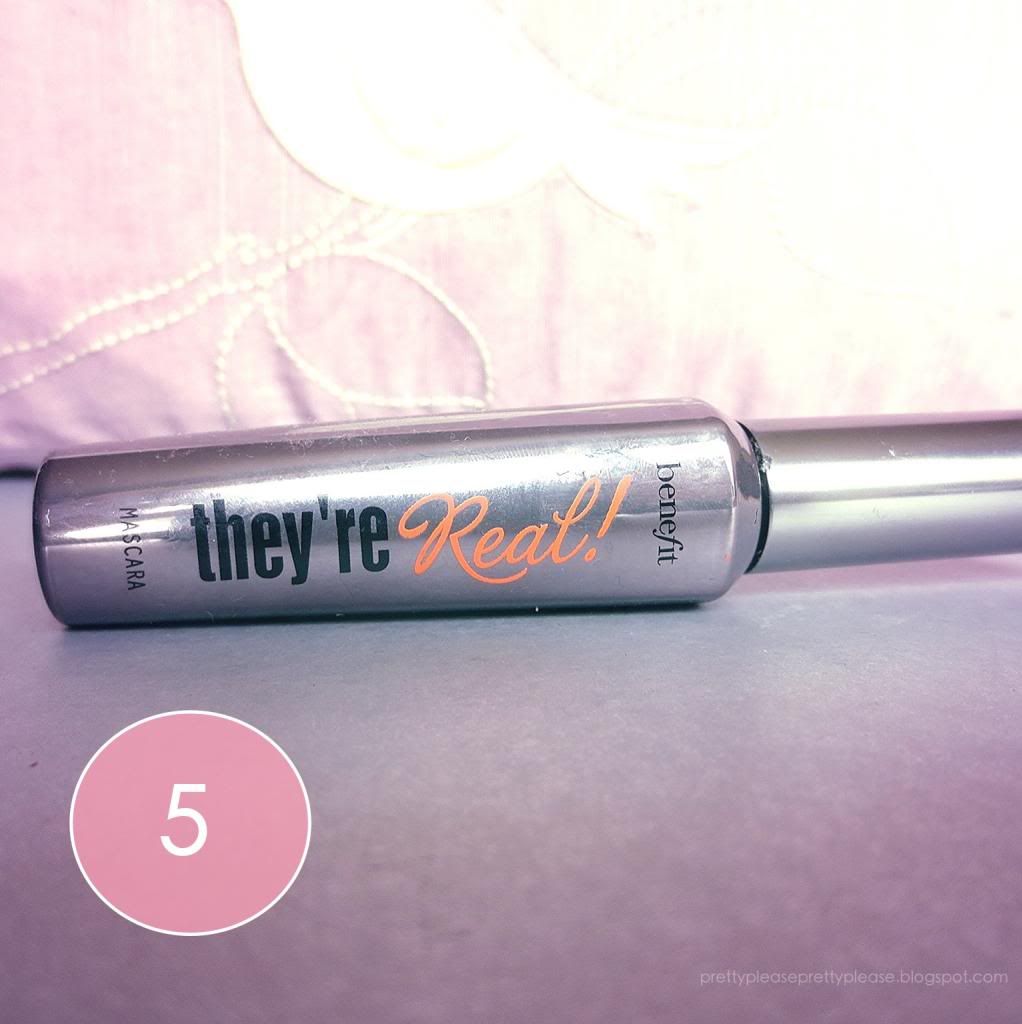
3, 4 &5 - Now onto the eyes. All I did to prime them was add some powder (skin tone or translucent will work) to my lids, then went straight ahead and added the colour Naked Lunch by Mac which is a slightly shimmery goldish pink. It gives a fresh, pretty look to the eye, although of course feel free to use your go to colour if you prefer. I followed this up with a little Teddy Eye Kohl by Mac to define the outer third of my lower lash line. You could use another brown with a little sparkle to keep the look nice and soft, or if you’re a little darker then you may prefer to use a black. If, like me, you decide not to line your top lash line (this takes a little more skill and practice) then don’t over do it, and be sure to follow up with a couple of coats of your favourite mascara afterwards. I used Benefit They’re Real, but don’t forget to curl your lashes first!
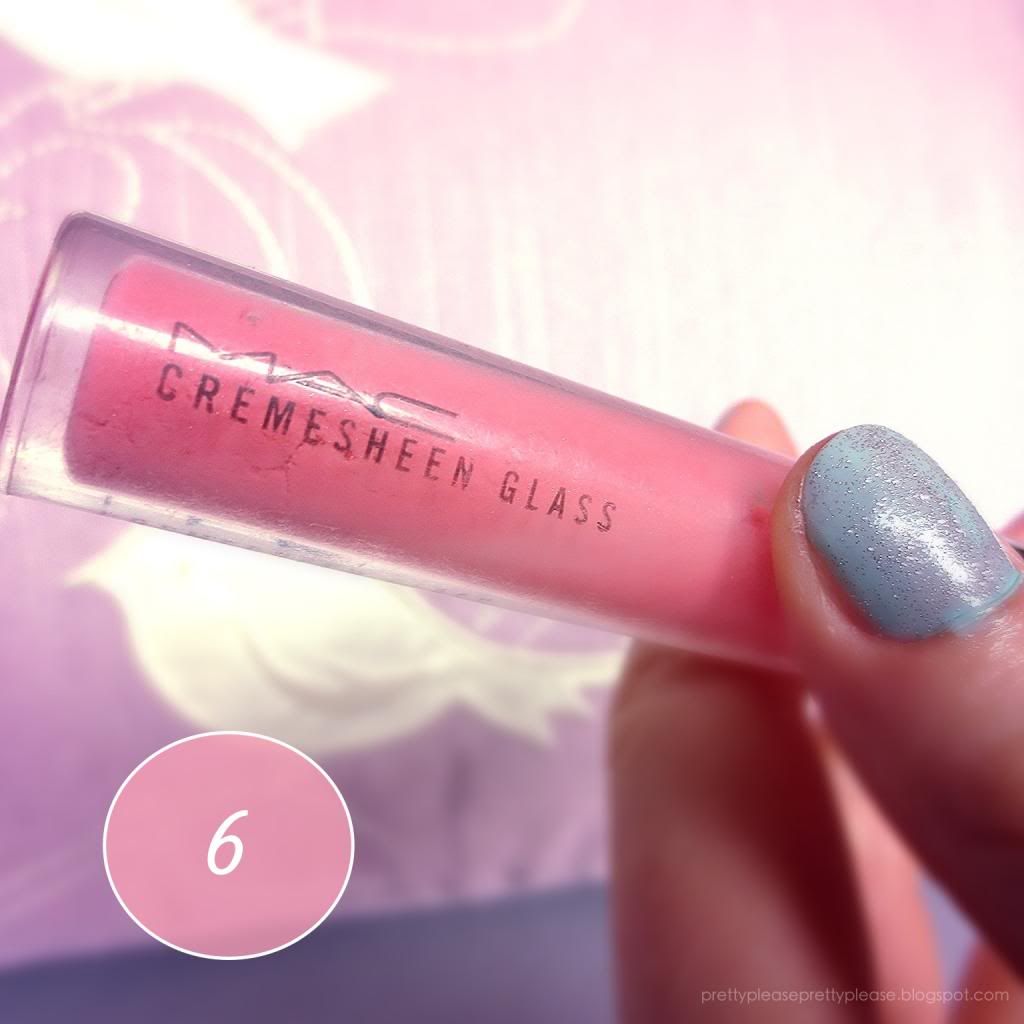
6 - Finally, I added some sheer, pink lip gloss. This shade is Partial to Pink by Mac. I love this gloss not only because of the smooth texture but also the way the colour really lifts my complexion. I'd recommend using something like this in a shade that you love, or something with more peachy tones if you're olive skinned. I think this really pulls together the look.
6 - Finally, I added some sheer, pink lip gloss. This shade is Partial to Pink by Mac. I love this gloss not only because of the smooth texture but also the way the colour really lifts my complexion. I'd recommend using something like this in a shade that you love, or something with more peachy tones if you're olive skinned. I think this really pulls together the look.
Although this really is a super simple look I hope that you guys enjoyed it. Next time I may try showing you guys something a little more complex, but I’m still working out my “blogging station” at my parent’s house. Hopefully I can do some more of these posts in a slightly more imaginative way, but just bear with me while I sort myself out!
What do you think of the look? Any tips/requests for these types of posts in the future?
Bloglovin • Twitter • Facebook
What do you think of the look? Any tips/requests for these types of posts in the future?
Bloglovin • Twitter • Facebook


